Labels

Showing posts with label Stays. Show all posts

Thursday, June 27, 2013

History-Con Checklist: Stays in Progress

   Things have been going fairly well!
   I've been hand sewing my stays because I've always wanted to, but I've never had the time.
They're half-boned, made of seafoam-green cotton and white coutil.


   The lining is a really sweet quilting cotton that I wish I could afford more of:

   I used a modified Butterick pattern for these stays ( 99 cents on sale [woohoo!]).

I'm using the bottom right pattern.

   I changed the lacing hole placement and the angle of the side panel. I definitely needed to size down on these; I'm usually a 14 in patterning sizes, but the finished "mainstream" patterned stays are literally my measurements, so I swim in them. I went down to a 12 and took in some of the side panel. I could have taken them in a little more, now that I'm walking around in them, but they give me a good shape. Something to think about if you're not using a pattern company that specializes in historic undergarments.
My stays are seafoam, but I wanted a little bit of contrast, so I used white silk thread for the channels, white silk buttonhole twist for the eyelets, and white silk ribbon for the front and back seams.
   I used wax-free transfer paper to mark off the channels, which I will eventually split into two to reinforce my cane boning.
   Sewing the channels took about two hours a panel (I was watching BBC miniseries while I worked, so it took a little longer), and binding the eyelets took forever! I think it's just that I don't like binding eyelets and buttonholes. It's much the same feeling I get when I'm setting sleeves.

You can see the faint red lines that were my sewing guides. 


   I washed the pieces after sewing the channels and binding the eyelets to remove the traced lines. Then I ironed back the side allowances on each piece and whipstitched them together. I'll cover the stitches on the outside with silk ribbon later.

Whipstitching two sides together. Inside view.

Pieces laid flat.

One half done!

Outside view.


Both sides stitched together. The eyelets are done, if you can pick them out in this image.

A close up of a couple of wonky eyelets :)

   Then it was time to bone my channels!!!
   I usually use large zip ties to bone stays; they're super cheap and won't melt with your body heat. I was doing research, and the general consensus was that wealthy women used only whalebone in their stays (now replaced by German plastic boning), while middling- and lower-classes used reeds and wood. I've always been drawn to portraying middling- to lower-class women in all of my historical impressions. Yes, sometimes it's fun to dress like a princess-- or at least a viscountess-- but dressing up in silks and brocades for every event is really over-represented. And expensive. Give me a linen or cotton gown any day, and I'll be thrilled to wear it. So I knew from the get-go that I would be boning my stays with reed. The only question was what kind of reed?
   There are terrifying horror stories-- maybe urban costuming myths???-- of women being stabbed by broken  reeds in their stays. That scares me. A lot. So I wanted to get something that was incredibly flexible and wouldn't hurt when it (in my mind) inevitably ripped through my stays, impaling me and ruining my day of reenacting. I went online and started researching reeds and cane. I finally found a store in Huntington Beach, Frank's Rush and Cane, which sold a wide variety of....rushes and cane. The employees there are so nice. I recommend their store for all of your weaving, chair-making, patio-covering needs :)
   I ended up with 1/4" (6 mm) binding cane, the kind you wrap around chair and table legs.


   I figured that it could withstand my hip-to-corseted waist ratio of it could be double-knotted. The trick was to soak it overnight. So that's what I did....

   To be continued!!!!!!

Next Up: Finishing my stays and a post about my striped petticoat.

Friday, May 31, 2013

Pockets, and Jackets, and Stays, Oh My!


     So my embroidered pockets are coming along!!! I'm actually a little impressed with myself for having stuck with a project that I didn't need to complete the day before I had to wear it. Yay me.


   I used graphite paper (which was the only thing I had on hand but will never use again for embroidery because it doesn't wash out) to trace the pattern, and started the vines with a stem stitch. I've noticed that most extant pockets were done with chain stitches as opposed to stem stitches, but I don't like the chain stitch, so I'm going rogue. I filled in the flowers and the center design with a satin stitch.


   I usually embroider while watching "Vampire Secrets" with my friends. They get a little annoyed when I ask what Elena did to ruin the plan to kill so-and-so because I had an embroidery hoop in front of my face (trust me, Elena ruins all of the plans, all the time, always).
    But now that History-Con is coming up, I really need to set my pockets aside for a bit and get the ball rolling on my costume...and costumes for the rest of our group. We're all going as a cohesive group this year, and I couldn't be more thrilled. We're going as a rag-tag group of French Revolutionaries!!!!! Not the Les Mis kind, the cool, slightly creepy 18th century kind. Like these guys:


And:

See? Super creepy.

The dates for the Revolution land in my fave fashion period, and the 1790's are probably my favorite because of the dramatic change in silhouette due to the Revolution. Funny how that works :)
We have a wide range of social classes in our group: some wealthy women, some starving yeomen farmers, and some (still starving) classes in between. It'll be fun. 
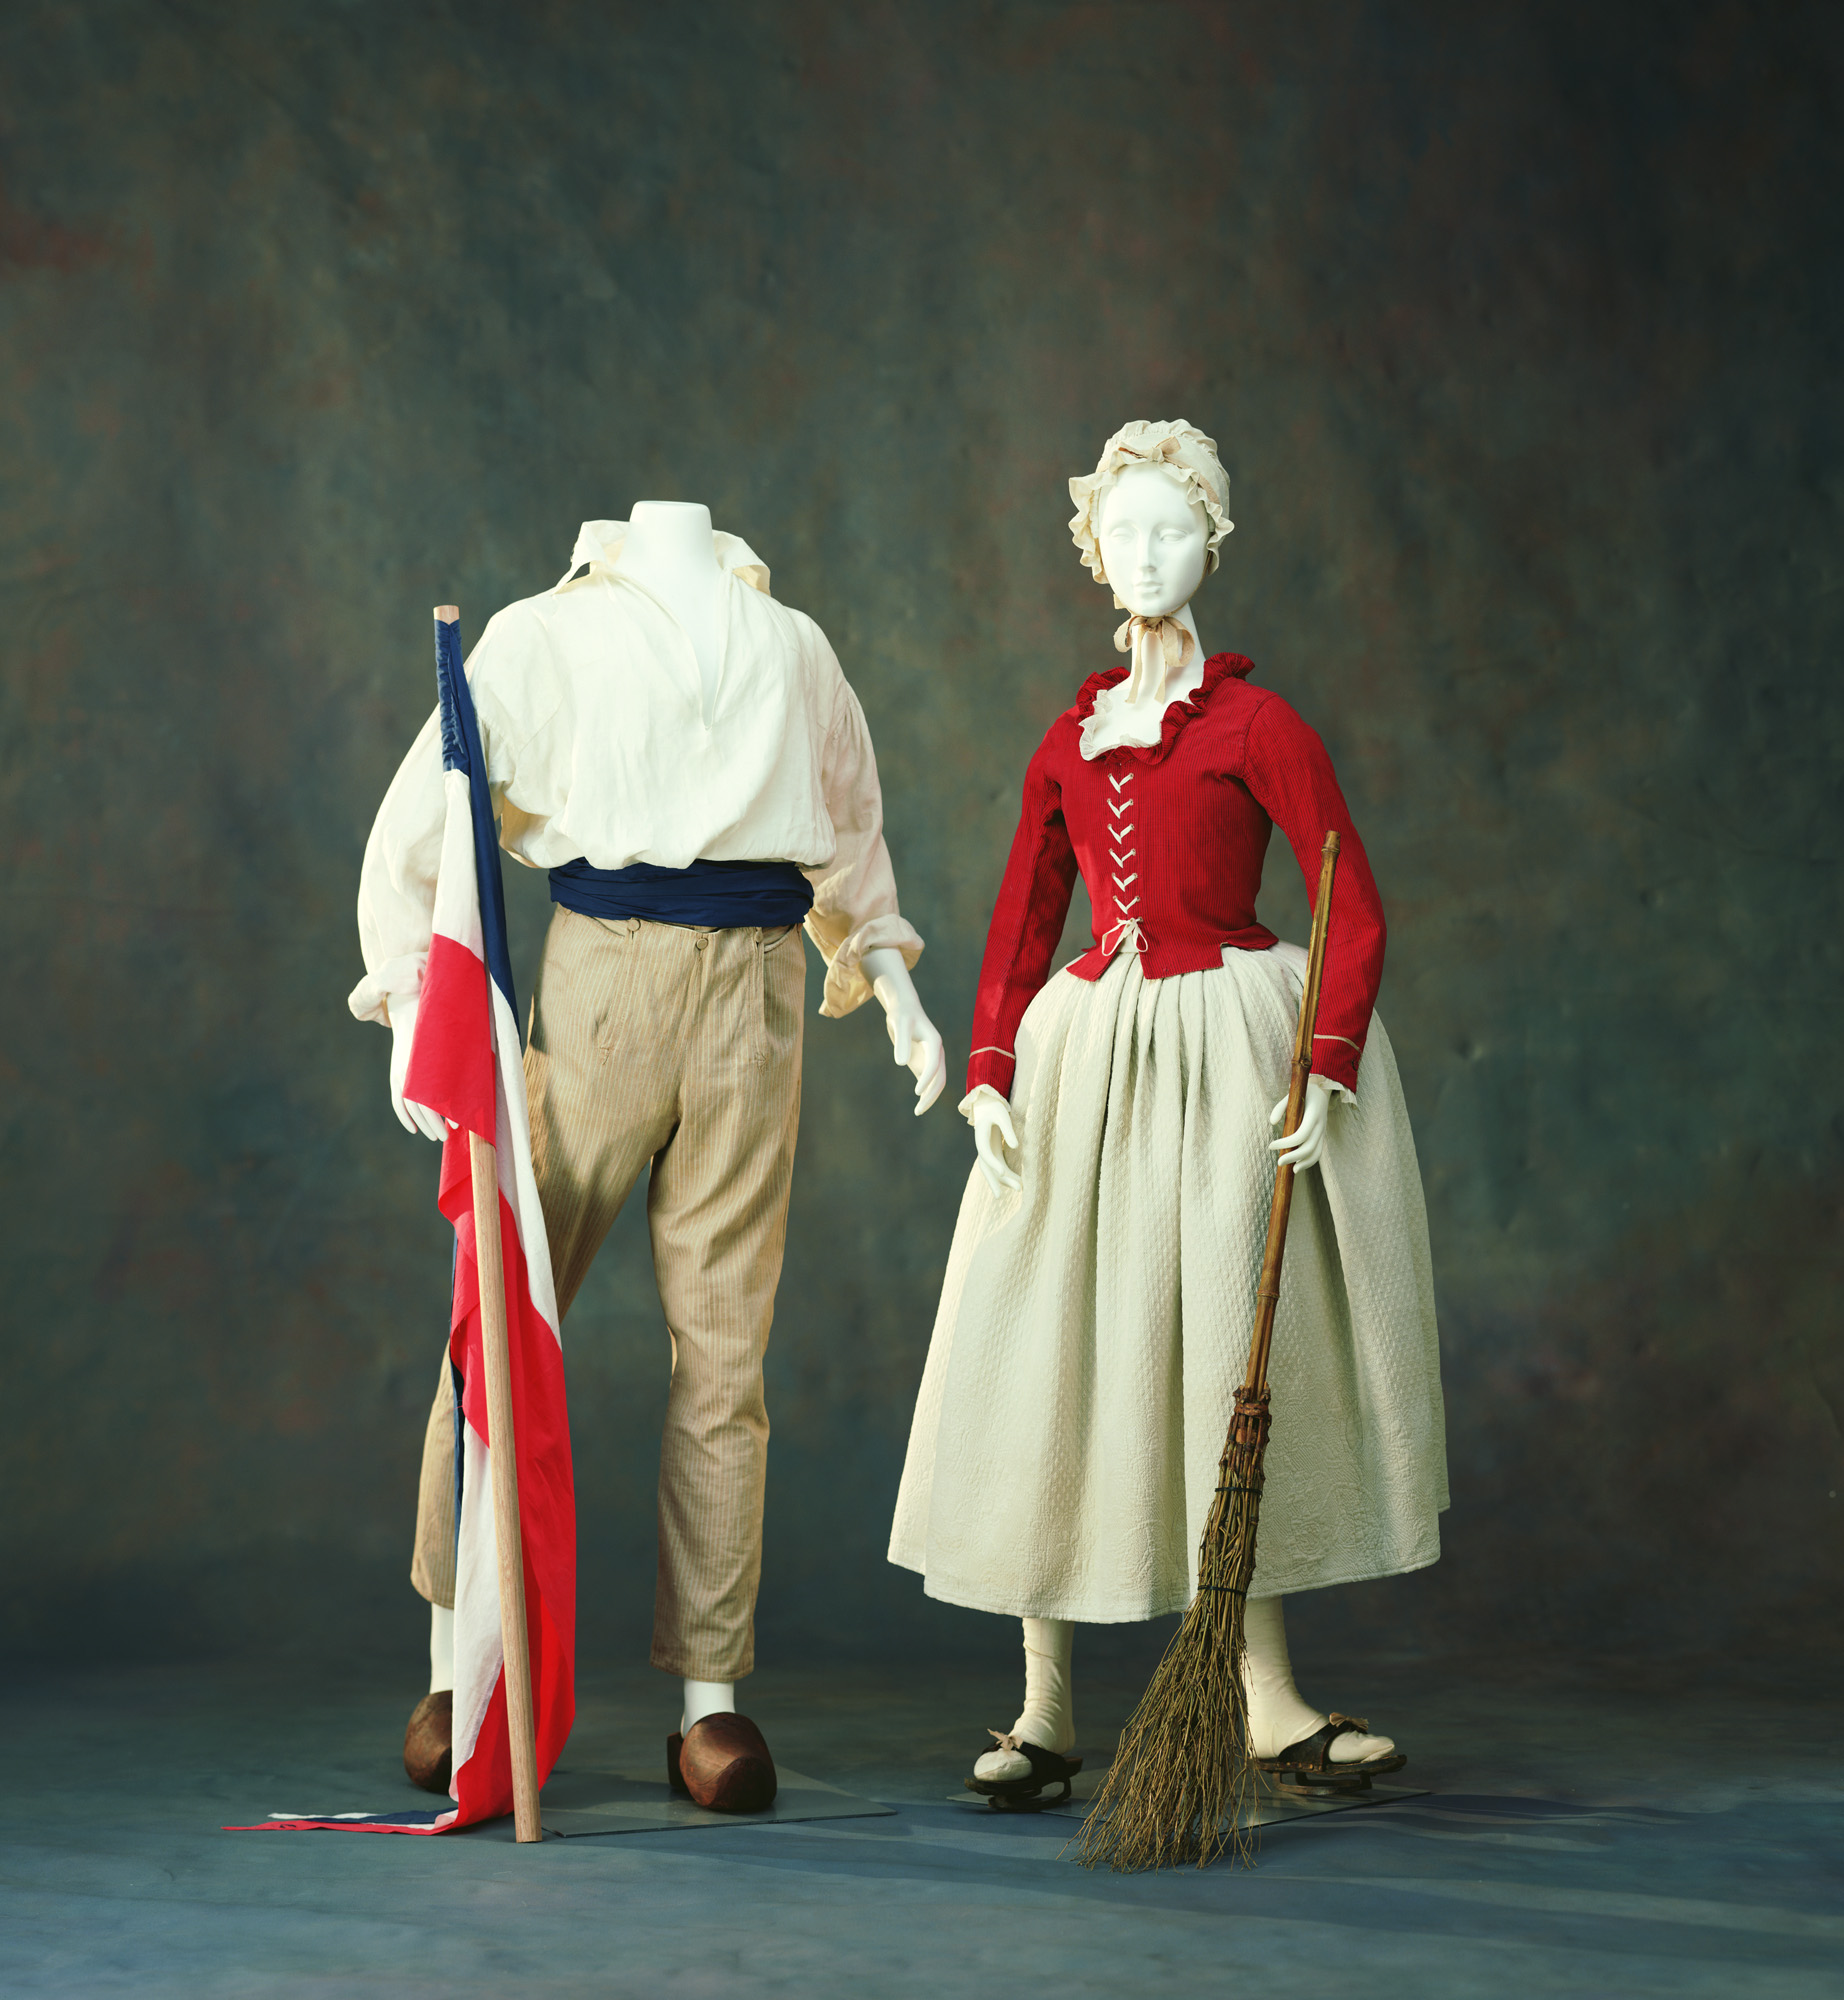
Of course, as a lower-middle class woman (aka Citoyenne Starving Proletariat), I will be Behind the Fashionable Times, so my clothing will be closer to the mid- to late- 1780's. My costume is inspired by the Kyoto Costume Institute's Revolutionary costume:
http://www.kci.or.jp/archives/digital_archives/detail_230_e.html


I love the red jacket, but my own ensemble will differ a little bit; I'm going to be wearing a straw hat festooned with cockades, a linen or muslin apron, a striped linen petticoat and some super fetch Fugawee shoes:

I squee(!!!) a little every time I see them.

We're also going to be making a ton of these little guys (cockades) in all shapes and colors (three, to be exact) and sizes:
Scarletscarab.com has some super cool cockades for tams.

But here's the thing... I have a ton of stuff to do before I can look Rev-chic. My friends are going, so I'm helping out on their costumes, as well. Not that I mind, I'm super excited that other people are excited, but it is a lot....

Here's my own personal To-Do List: ( Citoyenne Starving Proletariat)
  • 1780's Handsewn Stays ( My friends are borrowing my other two and looked a little daunted at the thought of making their own)
  • Hand-dyed Scarlet Jacket with a super awesome Peplum
  • Striped Linen Petticoat
  • Apron
  • A million cockades
  • A fetch little cap
  • An plain set of pockets (because I'm not crazy)
  • False undersleeves (my chemise is short-sleeved)
My Best Friend's List: ( Citoyenne Starving Wandering Peasant [the Starving-er, the better in her opinion])
  • Striped linen jacket with attached undersleeves
  • Linen/Muslin Petticoat (she's borrowing an under petti from me)
  • Apron
  • Plain Pockets
  • A portion of the million cockades
  • Kerchief

My Brother's Best Friend's List: (Citoyenne Peckish Fashionable Lady Looking for a Cause)
  • Chemise
  • Chemise a la Reine 
  • Ridiculous Hat
  • A large portion of the million cockades (because she's super skilled at making these)
  • Fichu
  • Sash

I'll be posting my progress, and the pic-by-pic of the pair of stays my friend will be wearing: the Two Day Stays.
We have a month and a half. Let's see what we can do!